Prismic (Link)
Here you will find instructions on how to create a link for your Digital Guest Portal.
Introduction
A link appears in your guest portal. You can create a link for public transport, mountain railroads or the weather forecast, for example, to provide your guests with useful information. By clicking on the link, the guest is taken directly to the link provided.
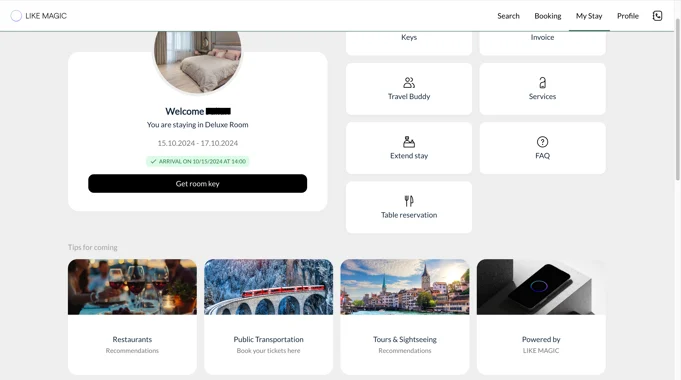
1. Setup
This is how you proceed:
- Log in to your Prismic account: Go to the Prismic website and log in with your access data.
- Filter via “Type - Link”: After you have logged in, you can apply the “Type - Link” filter. This will display all links that have already been created.
- Customize links or create new links:
- Edit existing links: If you want to make changes to an existing link, simply click on the desired link. You can adjust the content there.
- Create a new link: If you want to create a new link, click on the “Create New” button and select “Link”. You can then create a new link article from scratch.
Use the existing links as a guide if you want to create new links or make adjustments.
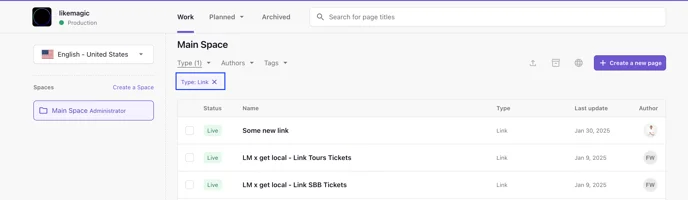
To edit the link article, simply click on the desired link article. There you can change the linked URL, adjust the title or make other settings so that the link is displayed correctly and in a user-friendly way.

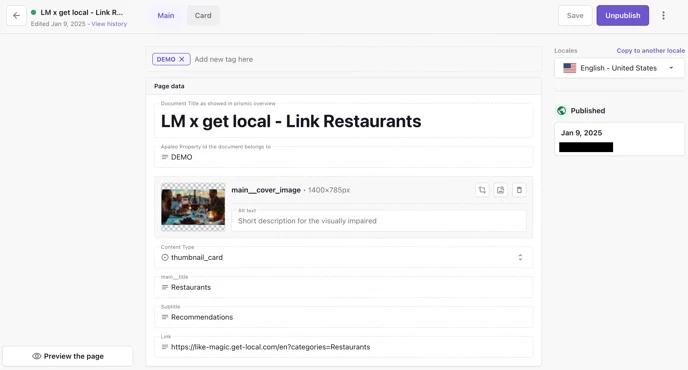
2. What do the different sections mean?
Apaleo Property Id:
Enter the correct PMS property ID so that the link is displayed correctly. Without the correct ID, the link will not appear in your Guest Portal. Make sure that the ID is entered correctly to ensure that the link works as intended.
Main_Cover_Image:
Insert an image:
In the image field, you can upload any photo or icon that you want to appear for your article. Click on the middle icon to upload an image or icon. Make sure that the image is the right size and format to be displayed optimally in your Digital Guest Portal.

Content Type:
Under Content Type, you can select how the image or icon should be displayed in your Digital Guest Portal.
Make sure that you select the correct content type so that the image is displayed in the desired form and visually supports the article.

thumbnail_card:
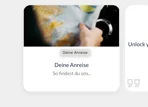
avatar_card:

icon_card: For Icon, you must change the image to an icon so that it is displayed correctly.

Main_title:
Under Main_title you can give your article a name. This title will be displayed in the Guest Portal.
Subtitle:
The subtitle appears directly under the title of the link. You can add a short description or explanation here to help guests better understand the purpose of the link. The subtitle should be concise and provide additional information that gives guests a clear indication of where the link leads.
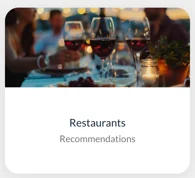
Link:
Insert the link you want to use. This is the URL that the guest will be redirected to when they click on the link. Make sure that the link is correct and complete so that the guest can easily reach the desired website or resource.
After creating and editing your article in Prismic, don't forget to click “Publish” so that all changes are saved and published.
Also customize the article in all relevant languages if your Digital Guest Portal supports multiple languages.
The link article only appears in the Digital Guest Portal once all of these steps are done.
3. Conclusion
A link needs the PMS property ID, an image or icon with its content type, a title, a subtitle and the target URL. Without the PMS property ID the link does not appear in the Guest Portal. Save and publish your changes in every language you use.