Prismic (Property Specific Setup)
This article explains how to create and populate a new property and its corresponding Property Specific in Prismic.
The guide includes the following steps:
-
Create a Property Specific: Define the basic details such as name, type of accommodation, location, and relevant tags.
-
Fill in the Property Specific: Complete all important details including room categories, facilities, policies, rate descriptions, and images.
The following subpages must be completed:
- Main
- Address
- Unit Groups
- Services
- Cancellation Policies
- Rate Plans
- Doors
- Labels
-
Translate into other languages: Translate the content into the desired languages if the platform is intended to be multilingual.
-
Review in the IBE: Ensure that the property is displayed correctly on the Internet Booking Engine (IBE) and that all content is shown properly.
-
Conclusion
Once these steps are complete, the new property is created and ready to use.
1. Creating the Property Specific
First, go to the main page of Prismic and click the purple button on the right labeled “Create new”. Then, you’ll see an option to choose what to create. Select Property Specific.
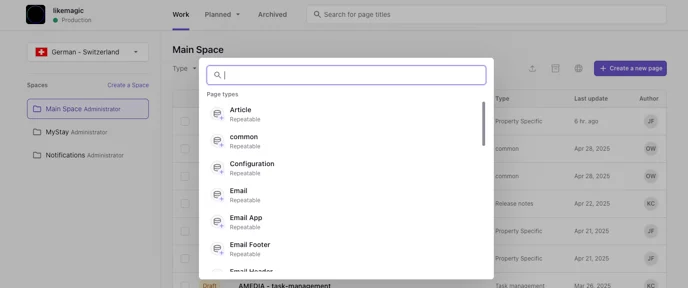
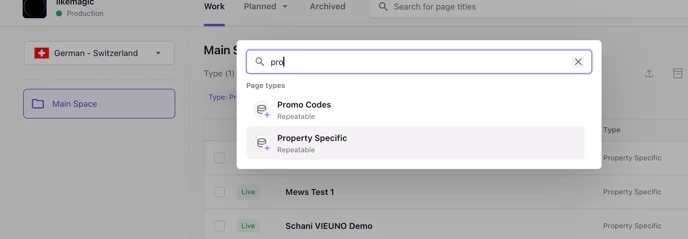
Tip: Alternatively, an existing Property Specific document can be duplicated.

2. Filling in the Property Specific
A blank Property Specific will now open. Fill in all the relevant fields with the required information. This includes the property name, description, location, facilities, rates, room categories, and images, which will later appear on the IBE.
Important: Make sure to save your work regularly to avoid losing any data.
Don’t forget to publish your changes by clicking "Publish"!
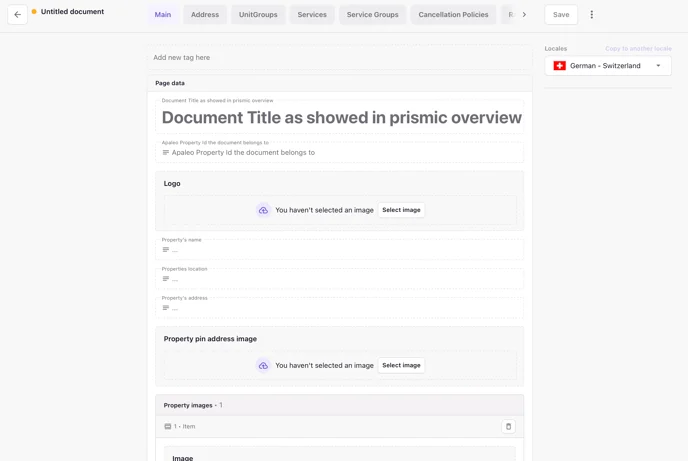
Below you’ll find an example of a completed Property Specific from LIKE MAGIC that you can use as a reference.
Fill the pages
Each subpage in the Property Specific document is accessible at the top and can be selected by clicking the respective tile.
a) Main
In this section, you enter the general property information, images, and facility details to ensure correct display on the IBE. Here you can find the LIKE MAGIC IBE and how the example Prismic content appears online.
Start by entering the PMS Property ID in the Apaleo Property ID field located directly under the title. You can find the PMS Property ID in your Property Management System (PMS).
Without this ID, the content won’t appear on the IBE, making it essential for proper display.
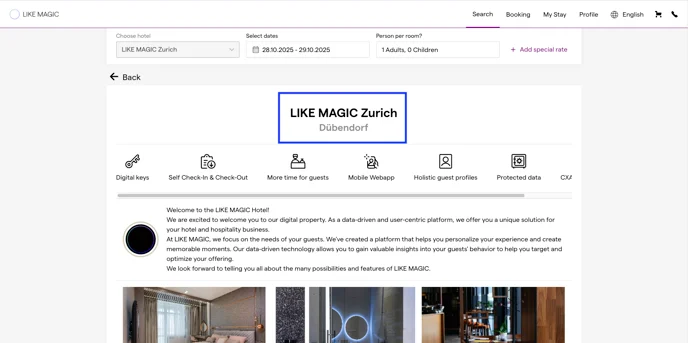
The property name and location appear at the top as the title. These give guests a clear overview of the accommodation and its location. The name is displayed as the main title, with the location (e.g. city, region, country) shown below.
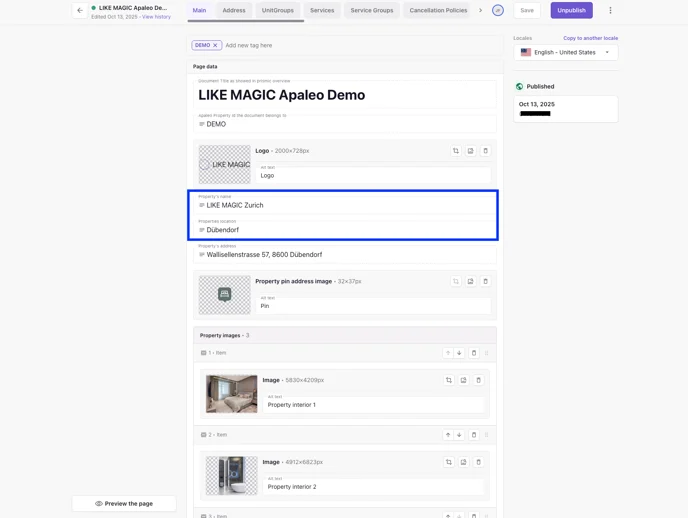
Example of how this appears on the IBE:
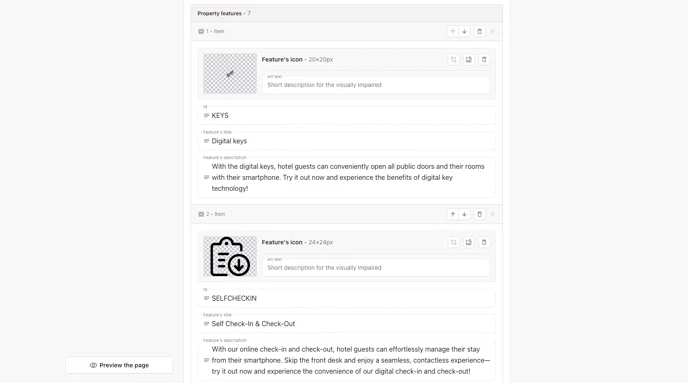
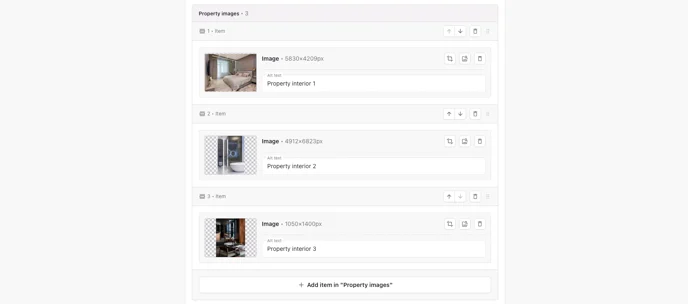
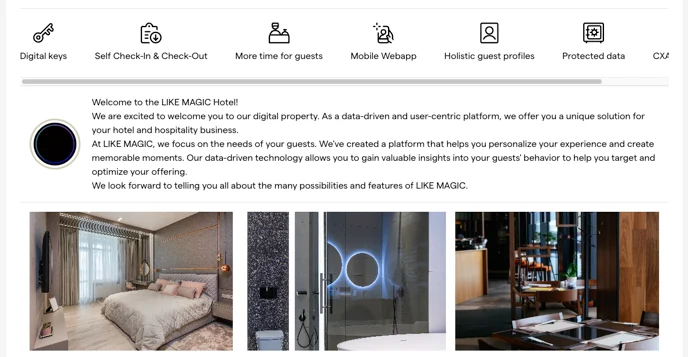
Then, add the Property Features, followed by the Host Image and Host Rich Text Description, which include information about the host or property management. Finally, you can upload Property Images again to offer more visuals.
Example on the IBE:
Next comes the Google Maps section, allowing you to show the exact property location on a map. Below this, you'll add the Property Rich Text Description for a detailed written description.
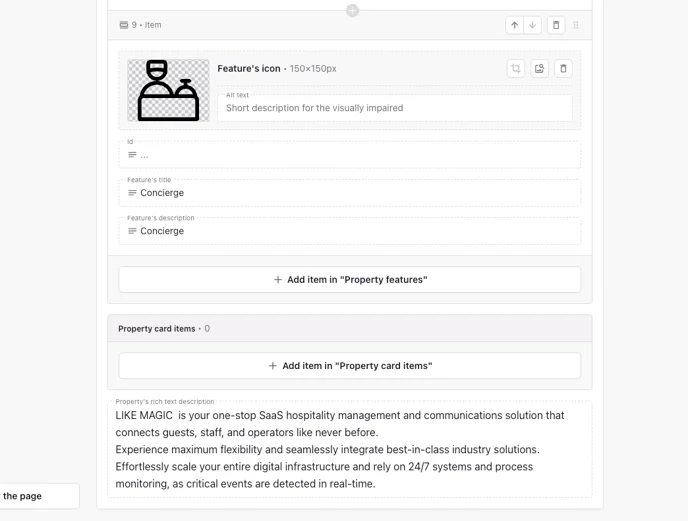
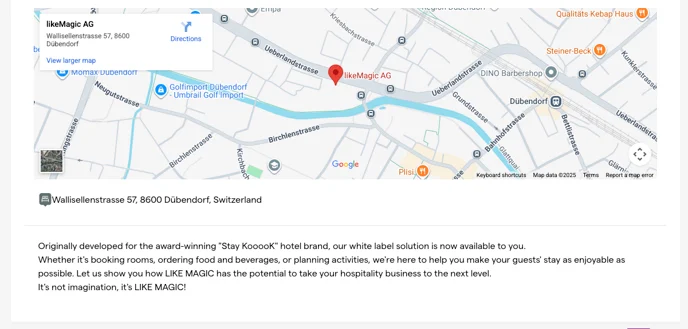
Room categories and rates are shown in separate sections (Unit Groups / Rate Plans), not as part of the main hotel info.
The display order of room categories is not set in Prismic. It is configured in the Operations Platform under Settings → Guest Journey → Booking Engine Rates (on Apaleo the entry is called Unit Group Order), where all unit groups of the property are listed. Pin one to place it explicitly at the top; unpinned unit groups follow the default order by price.
b) Address
In this section, you have to add the Address title, the Google Maps link and the Geo point.
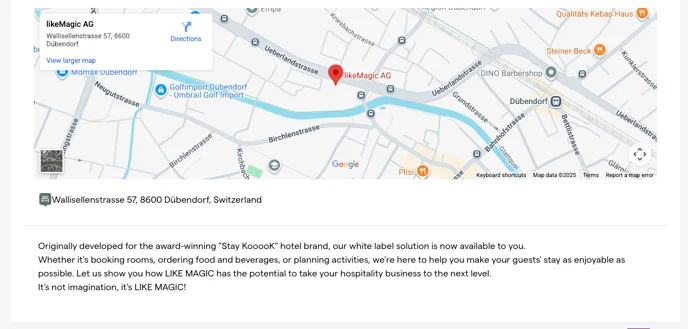
These details ensure the correct address appears on the IBE. The address title describes the type of address (e.g. “Wallisellenstrasse 57, 8600 Dübendorf”), the Google Maps link enables direct access to the map, and the geo point pinpoints the location using coordinates.
In the Location → Description field, you can enter the address that will be shown below the map on the IBE.
For IBEs with more than one property, the Map Pin Info and Icon are required.
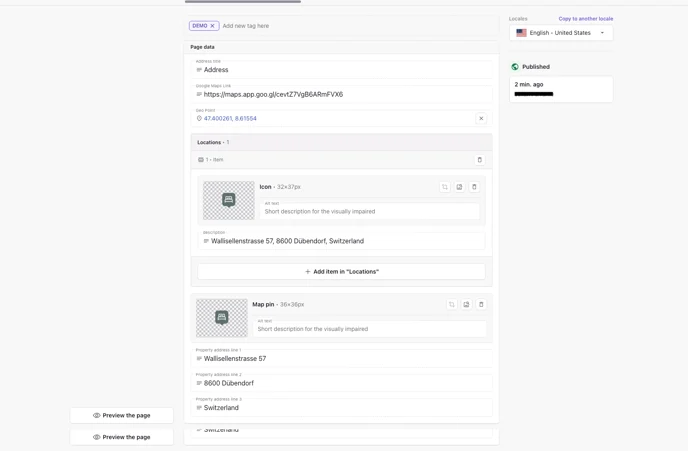
Example of how the address appears on the IBE (Internet Booking Engine):
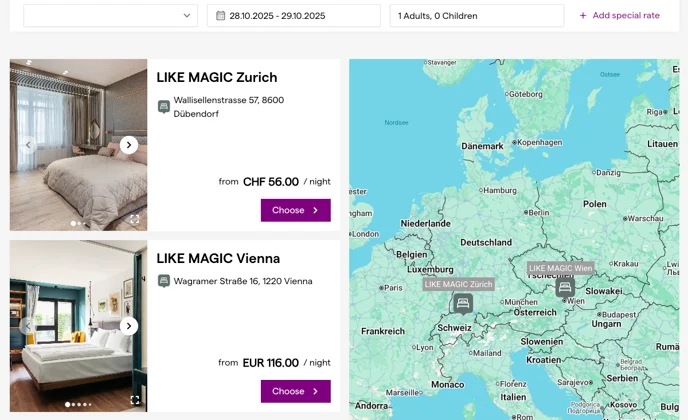
c) Unit Groups
In the Unit Groups section, list all available room categories, name them, and upload corresponding images and icons (e.g. room size, bathtub, etc.).
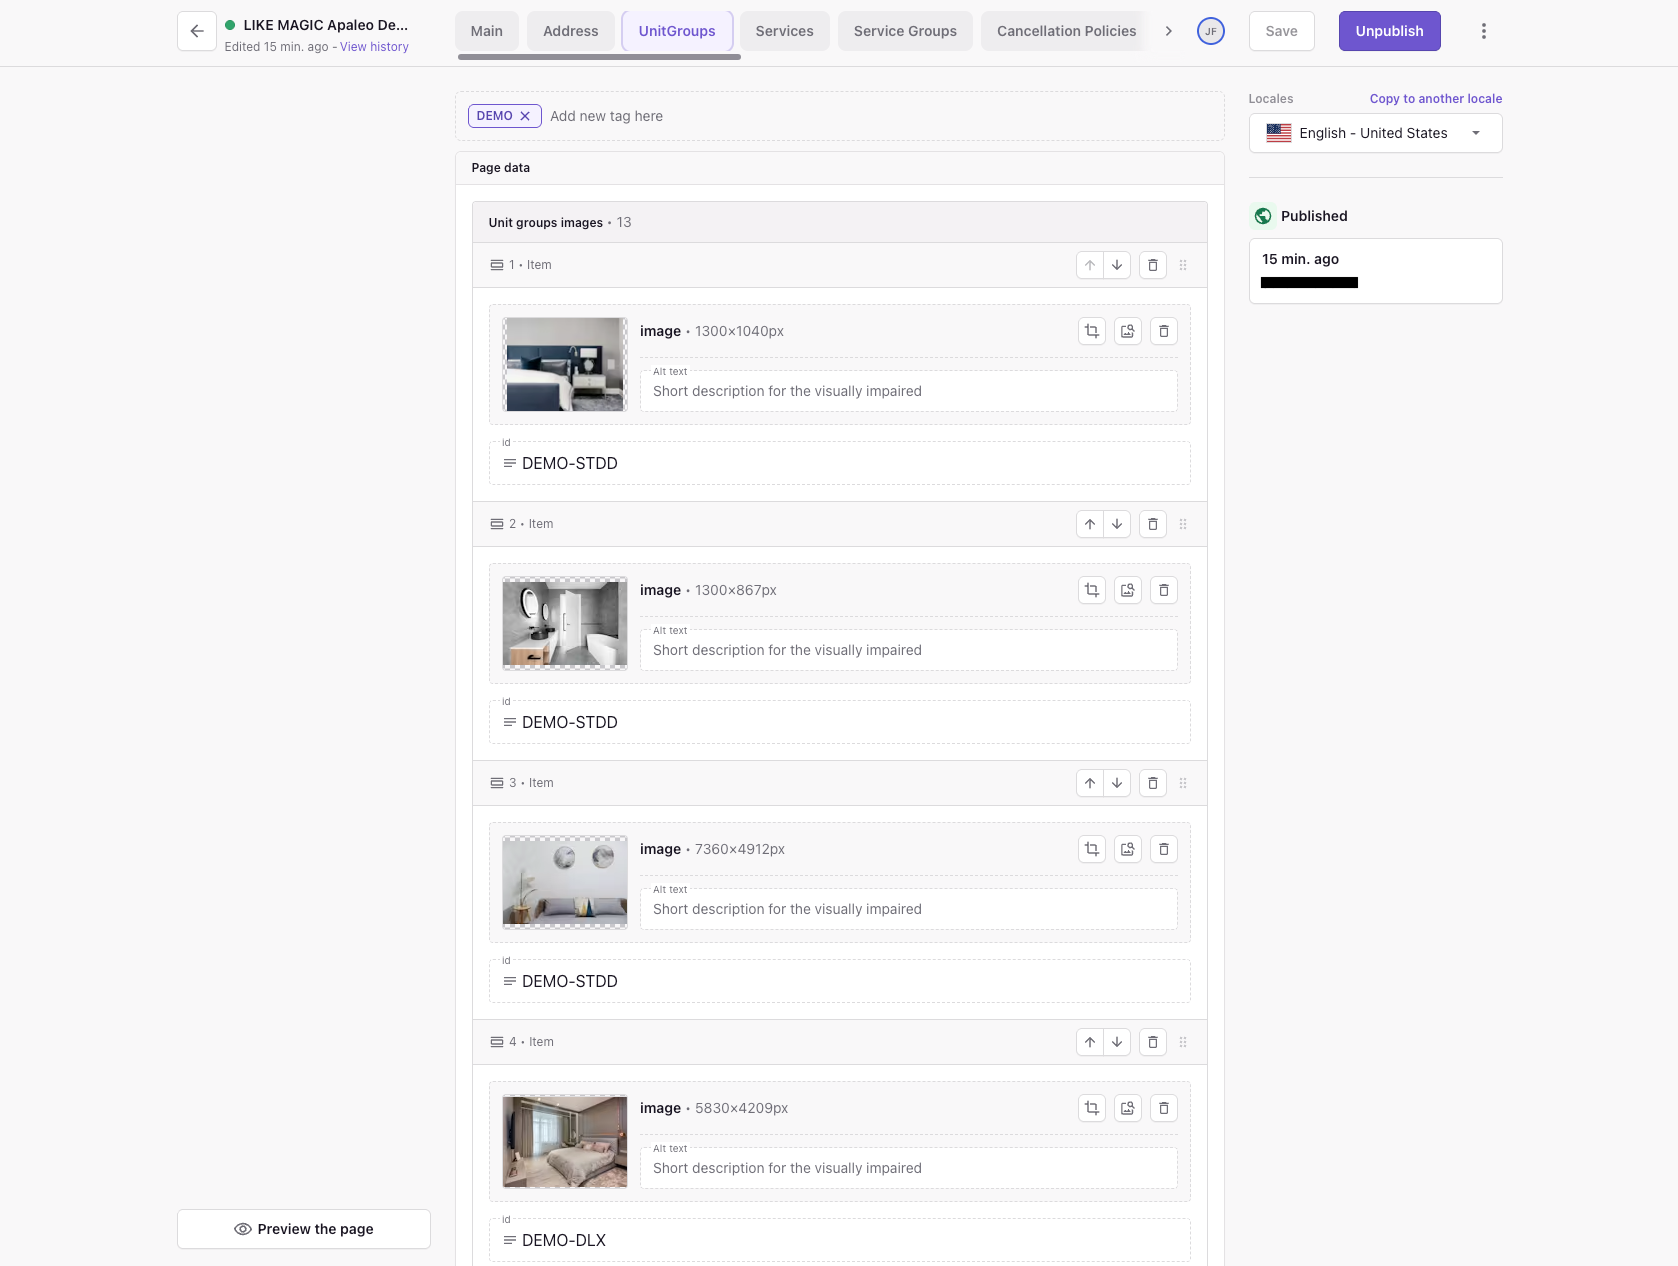
Upload Unit Group Images
First you can upload the unit group images. Click on “Add item in ”Unit groups images“” to upload an image in the format of approx. 900x1400 pixels. We recommend this image size as it offers the optimum quality and at the same time ensures that the IBE is not slowed down by files that are too large.

Click the middle icon to replace an image:

The order of these images on the IBE and the guest platform follows their order in Prismic, top to bottom.
Enter PMS ID
Below the image, input the PMS ID for the corresponding room category. This ID is found in your PMS URL.
Examples:
- Mews: it is an alphanumeric string.
- Apaleo: Combination of Property ID and Unit Group ID.
Tip: The PMS ID comes from your PMS configuration. Check there if you're unsure where to find it.
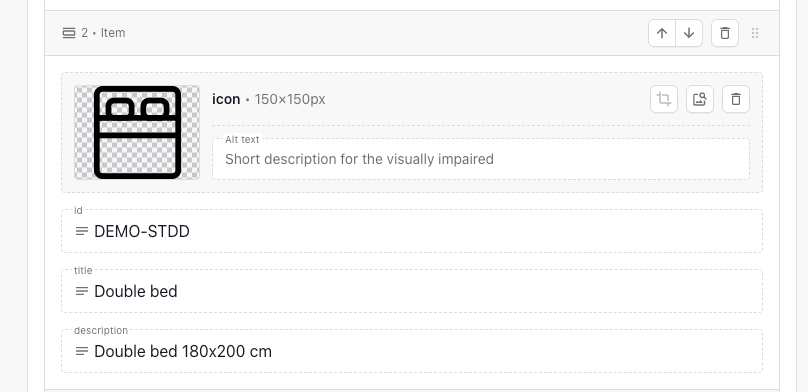
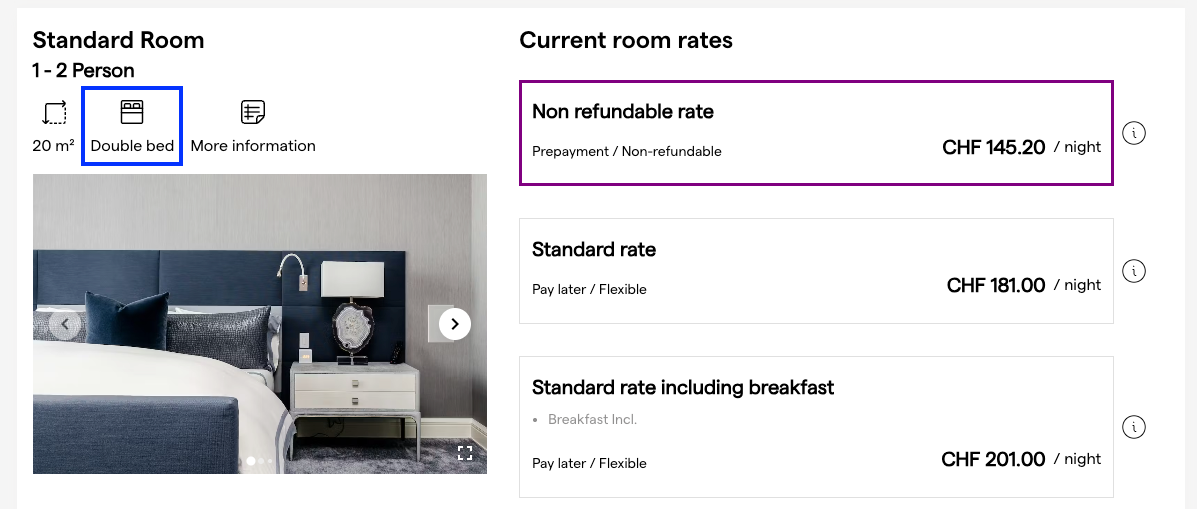
Below the Unit Group Images, you will find the Features. Here, you can add icons that should appear above the bookable hotel category on the IBE. These icons serve to highlight special features of the hotel category, such as the double bed, a bathtub, air conditioning, a balcony, or other amenities that may be important to guests.
The icons are uploaded directly in this section and then appear above the respective hotel category to quickly and clearly show guests the most important features of the room.
Example:
At the bottom, define the Labels: how room categories are named on the IBE (e.g. “Double Room with Balcony”, “Junior Suite”).
Again, the PMS Unit Group ID is required to ensure correct display on the IBE and in the Digital Guest Portal.
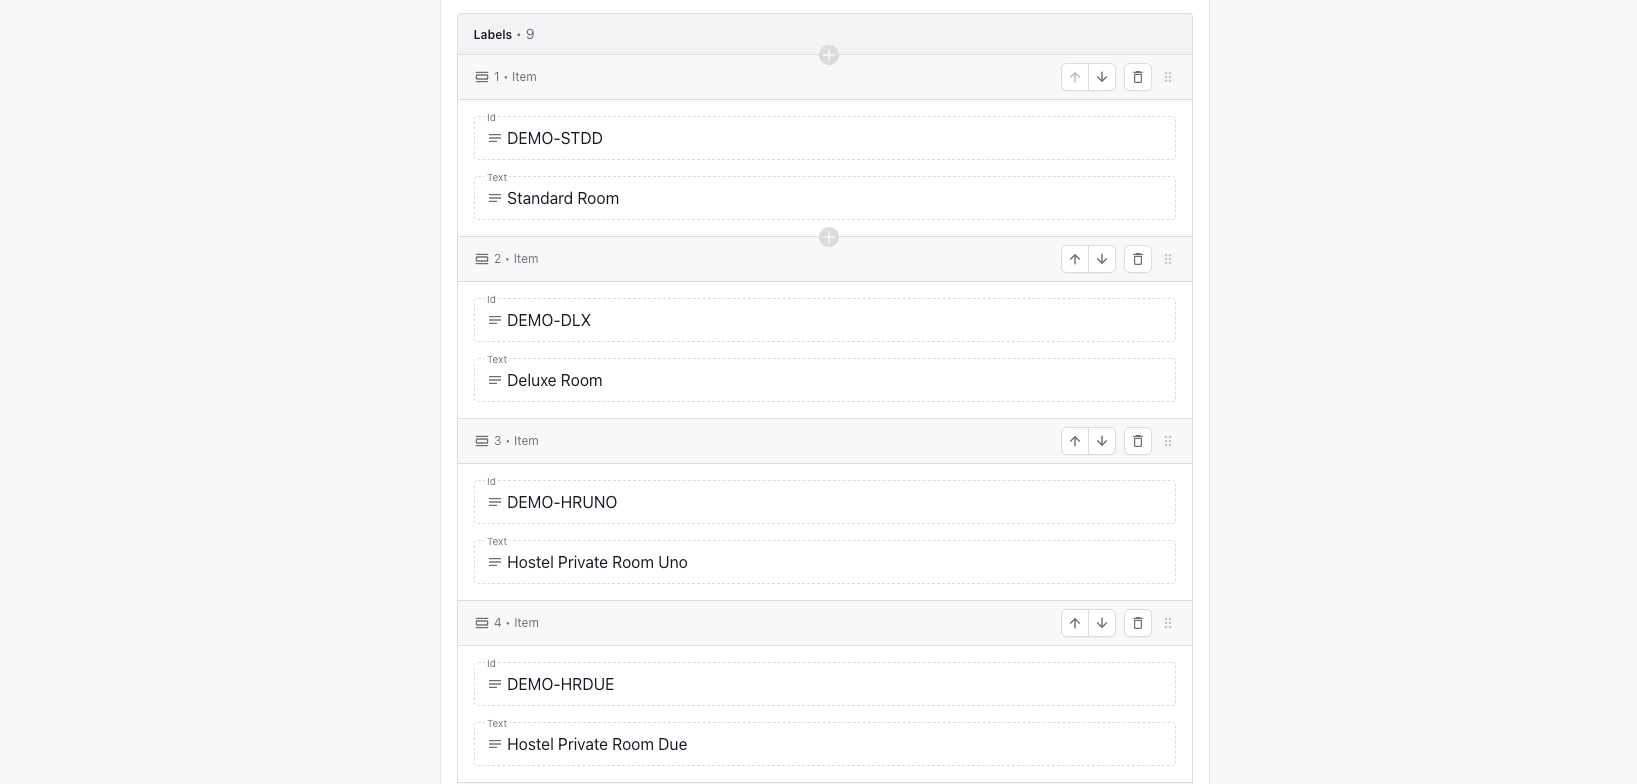
Example:
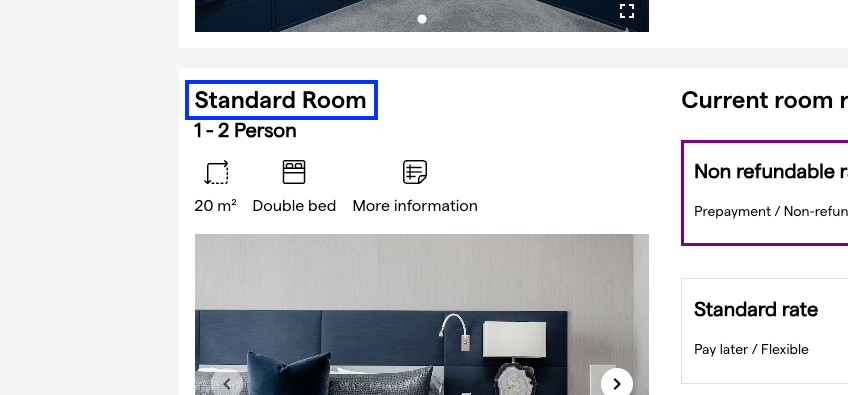
d) Services
To ensure correct service display (instead of just PMS IDs), add the following under Services:
- An appropriate icon: e.g. a coffee cup for the "breakfast" service.
- The PMS service ID: you will find this in your PMS, it connects the service.
- A clear service title: e.g. “Breakfast”, so that the service reads clearly for guests.
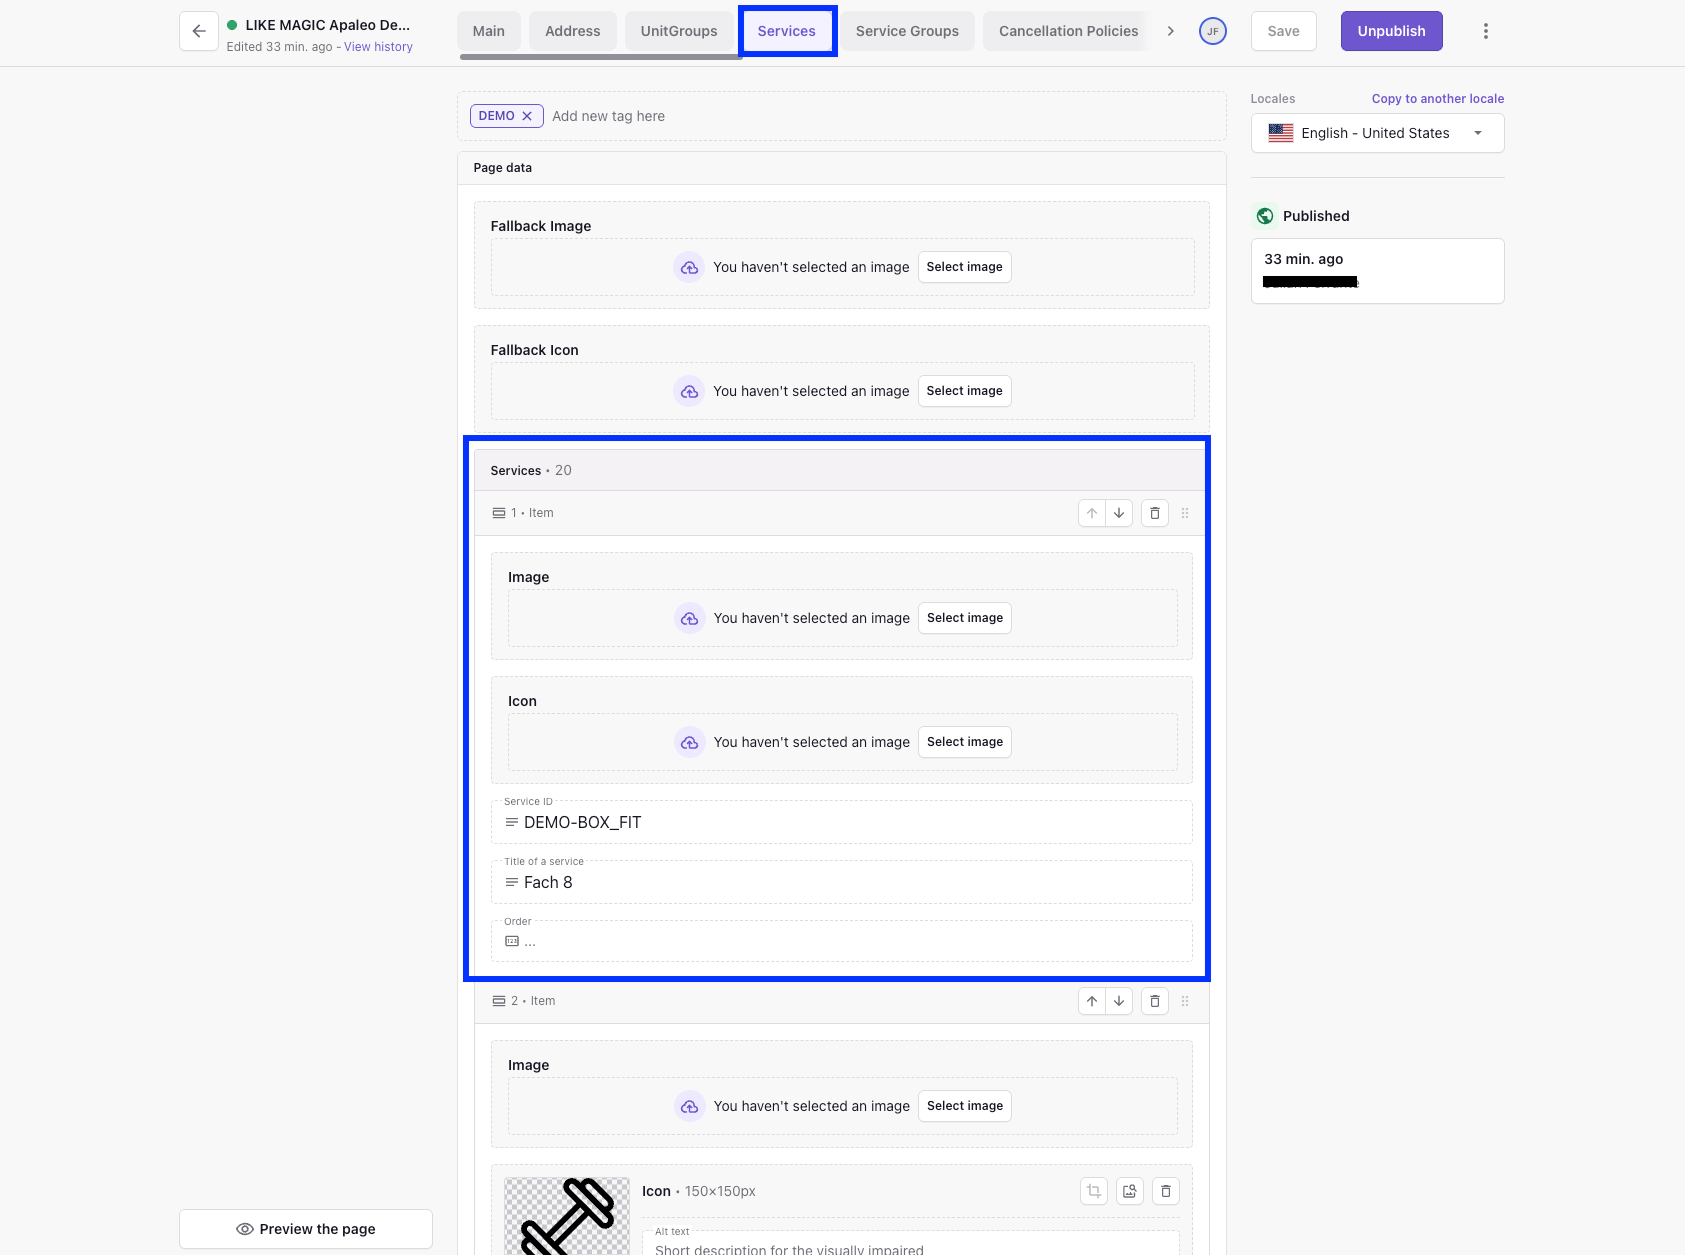
Example:
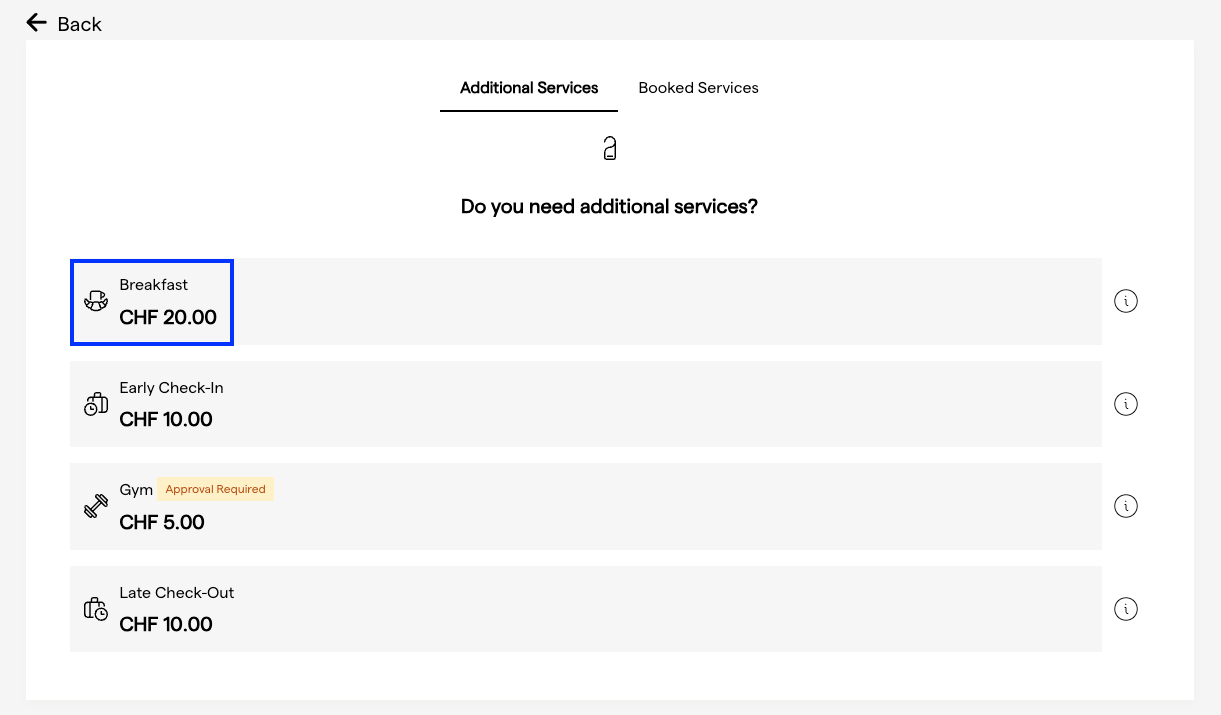
The price displayed here comes directly from the PMS.
Service Modals
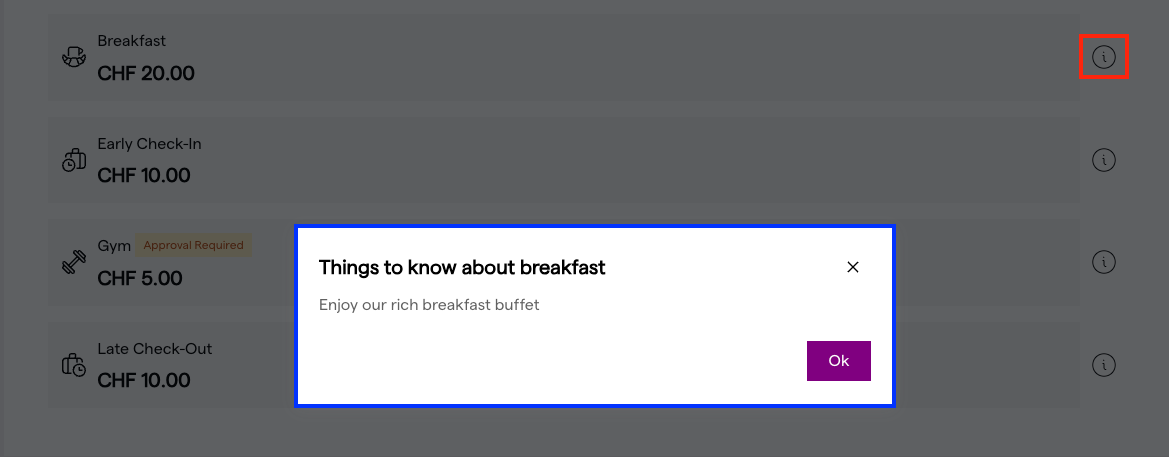
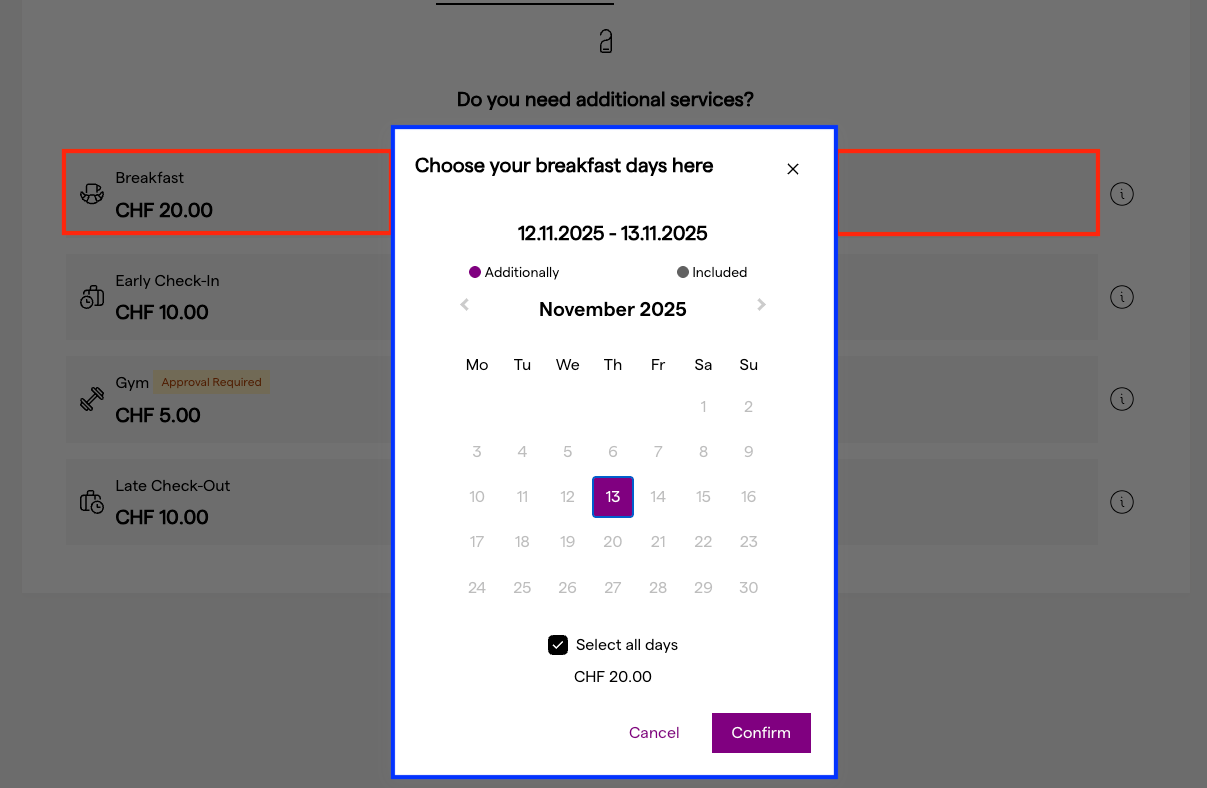
These describe additional labels required to display services properly:
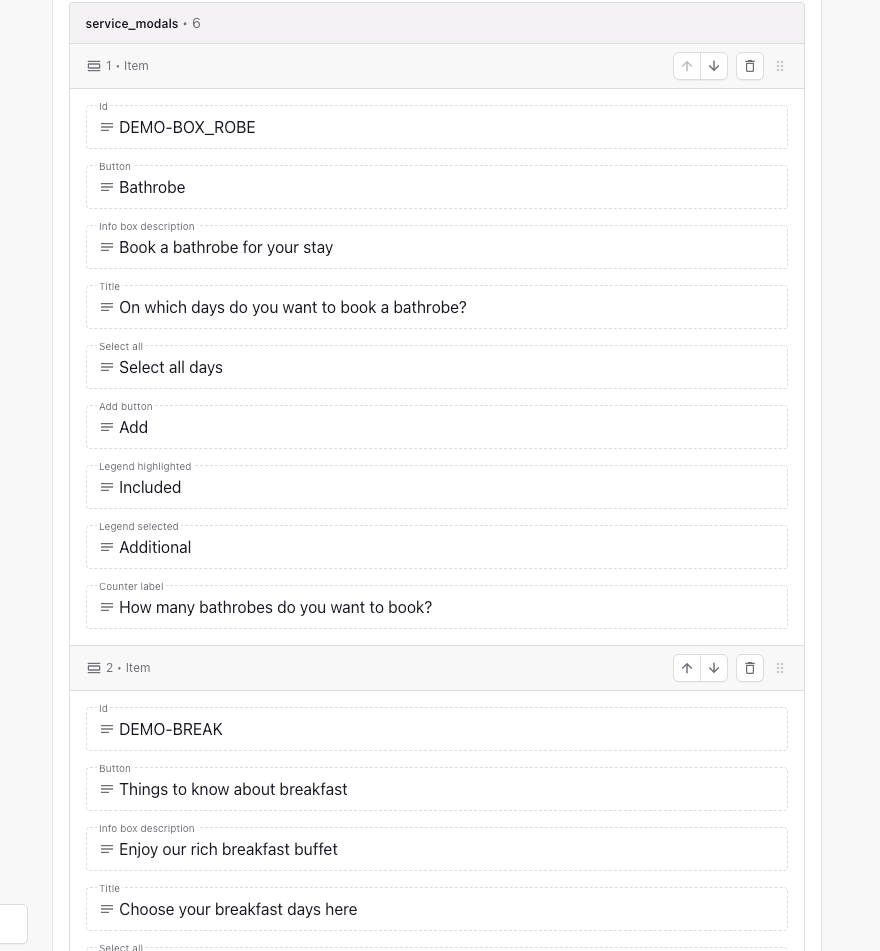
Example of modal display during booking:
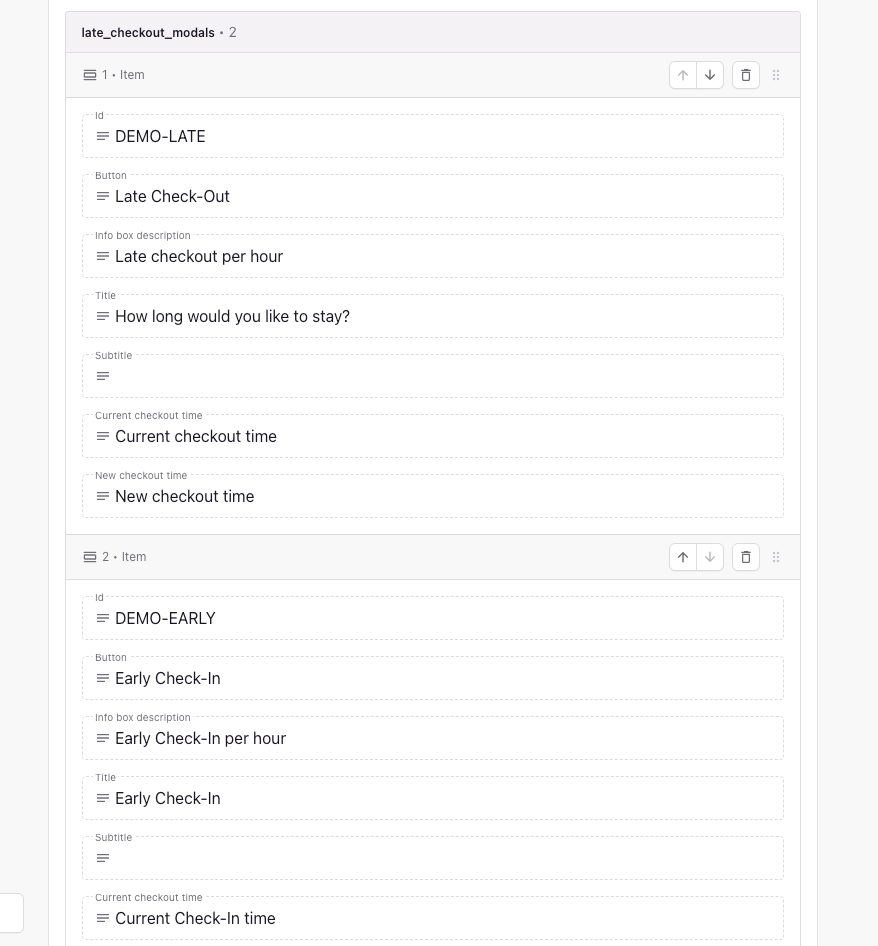
Late Checkout Modals
Add Late Checkout and Early Check-in here, as these require special modals.
e) Cancellation Policies
Here, define the cancellation terms. Use the Cancellation ID only (not the Property ID).
Example: “Non-refundable Rate” or “Free cancellation up to 7 days before arrival”.
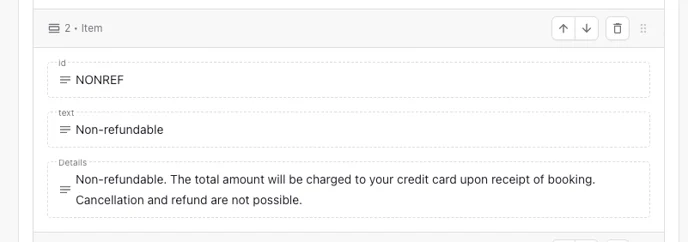
Example:
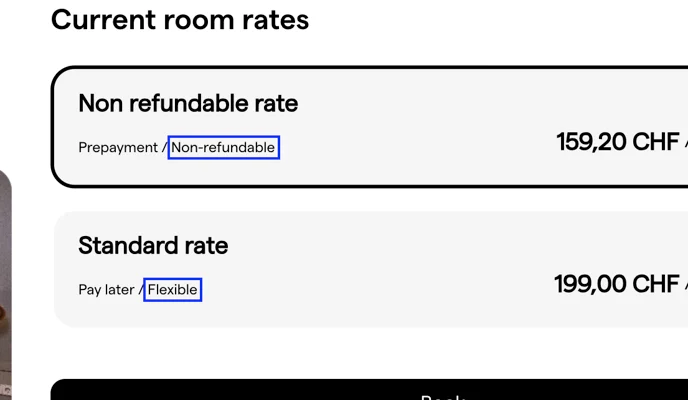
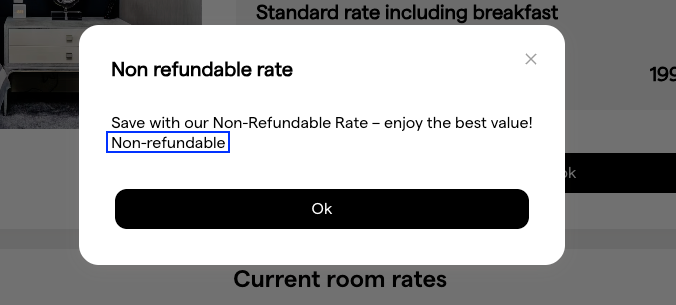
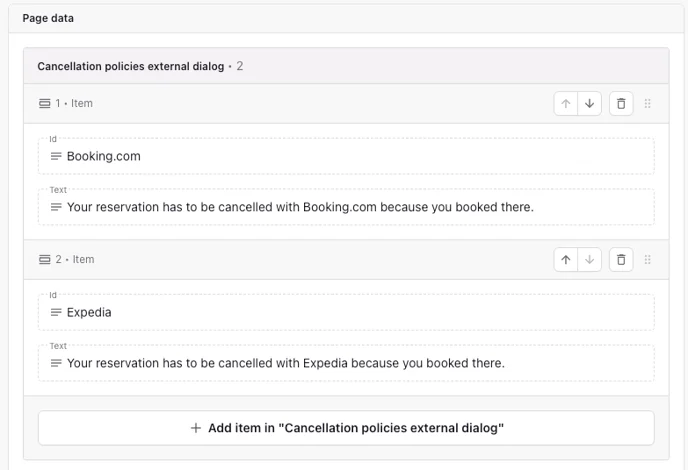
Also in this section, add the Cancellation Policies External Dialog. This shows a message to OTA guests instructing them to cancel via their OTA.
List all connected OTAs here. Request the ID via a Support Ticket; it is available once the property is live.
f) Rate plans
Define available rate plans here using the full Rate ID (E.g. in the PMS Apaleo it is the last part of the URL in your PMS).
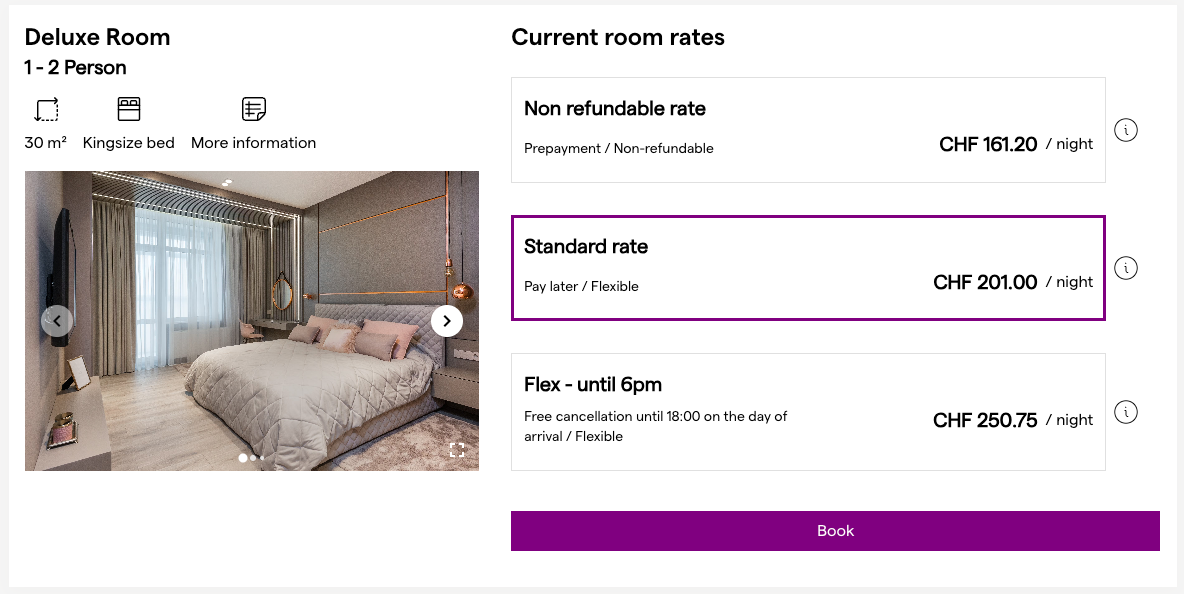
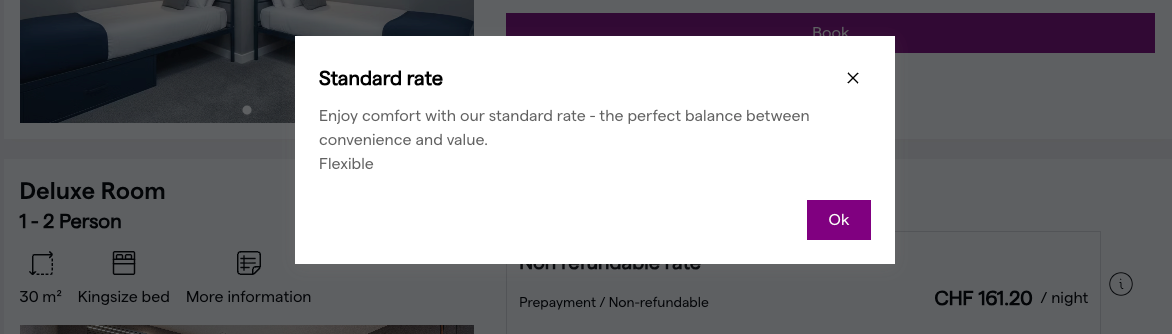
You can also add a Description that appears as an info box on the IBE in order to provide more information about the rate to your guests.
Example:
- Rate Name: “Standard Rate”
- Rate ID (complete ID): MAGIC-DOUBLE-DOUBLE
- Description: “Flexible Rate including breakfast”
This information helps clarify the relevant conditions for guests. In our example here we show the "Standard Rate" together with the title "Flexible Rate" and the description "Flexible Rate inclusive breakfast" after a guest clicks on the infobox behind a rate.
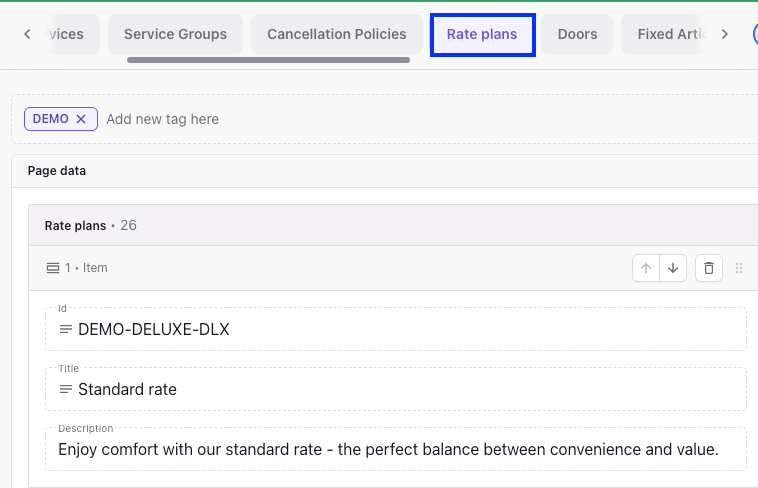
Example with the text input from above:
g) Doors
Specify the doors to be displayed on the guest platform. Use the UUID, which comes from your door access system (not the PMS). Contact your installer or check your admin tool.
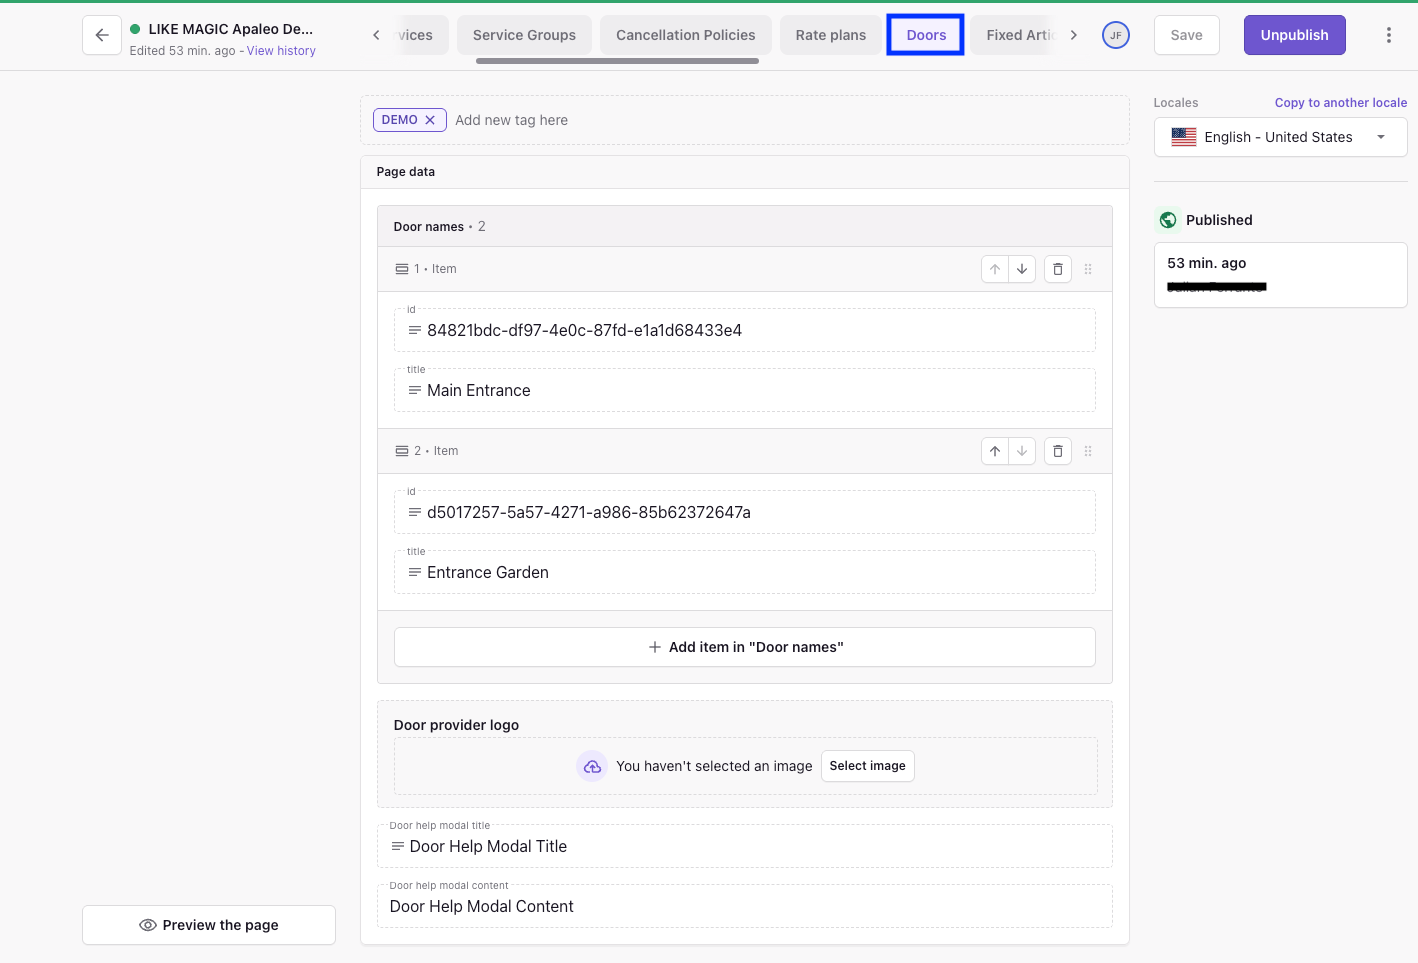
Example:
- ID: "84821bdc-df97-4e0c-87fd-e1a1d68433e4"
- Title: "Main Entrance"
h) Labels
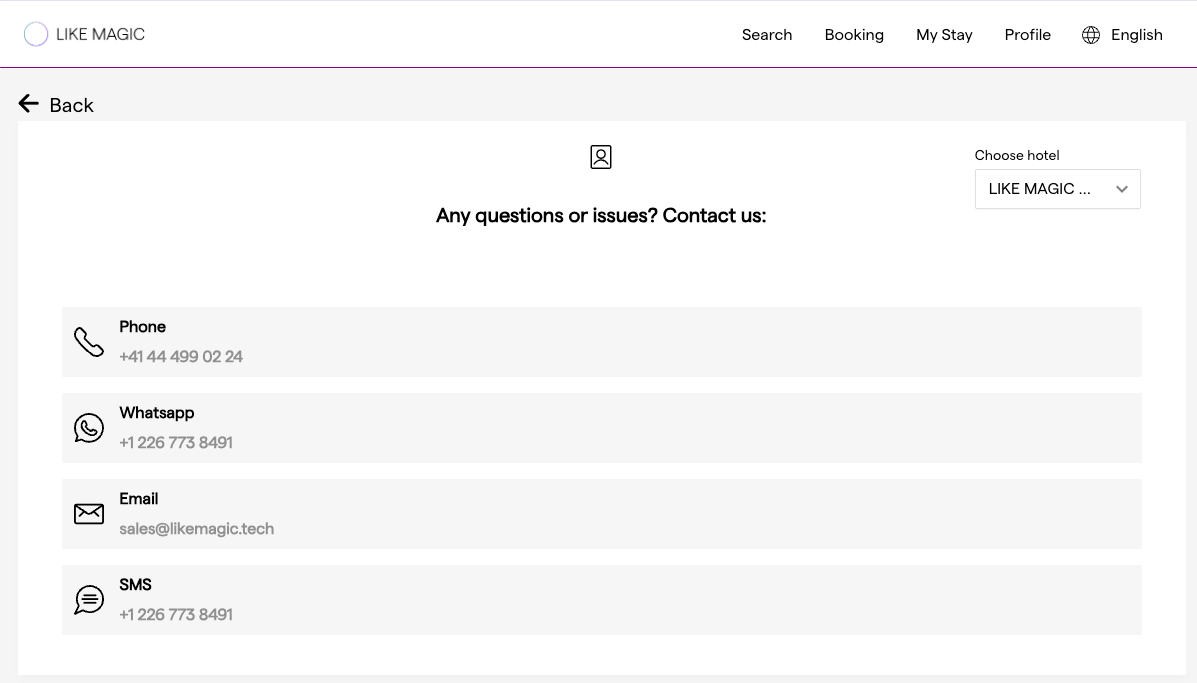
Property-specific contact information is defined here.
The Icons come from the Common document, while numbers and emails come from the Property Specific.
- If a guest is linked to a property (e.g. through a booking), they see this page.
- Otherwise, they see the default content from Common.
Example of what the guest sees:
3. Translating into Other Languages
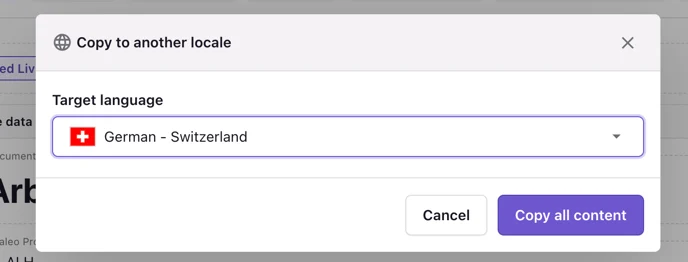
Once all content is entered in one language, click "Copy to another locale" and select the target language. This duplicates the content into the new language version.
Then, switch to the new language and edit all text. Check your translations before you publish them.
Ensure that IDs don't get translated. Otherwise the technical connection will not work.
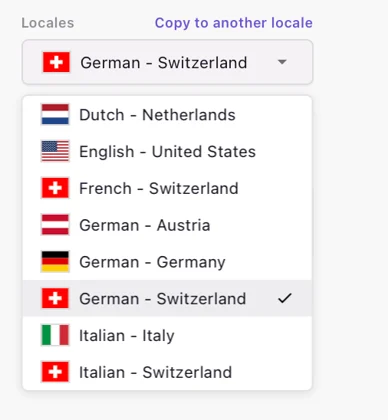
If you use “Copy to another locale” again later, it overwrites the entire Property Specific in that language. Use the function with care.
4. Review on the IBE
Once all steps are completed, the Property Specific is ready. You can check the updates directly on your IBE (e.g. my.YOURDOMAIN.ch/.com) and make any changes if needed in Prismic again. Any published change in Prismic appears immediately.
Don’t forget to make changes in all required languages so the property displays fully and correctly across all regions.
5. Conclusion
The Property Specific document defines how your property is displayed in the IBE and on the guest platform. It covers the property information, the address, the unit groups, the services, the cancellation policies, the rate plans, the doors and the contact labels.
Enter the PMS IDs correctly, fill in all required pages, and translate your content into every language you use. IDs must stay untranslated, otherwise the technical connection breaks.